
Quickly and easily install your LEED Recognition Plaque by following the simple steps below:
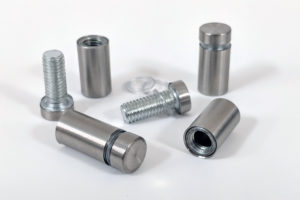
Included with each LEED Recognition Plaque
- 4 stainless steel standoffs
- 8 plastic washers
- 4 Phillips head screws
- 4 drywall anchors
* Installation into concrete or brick will require concrete screws (not supplied).
Required Tools
- Phillips head screw driver
- drill/drill bits
- pencil or marker
1. Prepare Mounting Location
- Hold the plaque up to the wall where you want to mount it. This step is often easier with two people to sight the ideal mounting height & location.
- Use a level to level the plaque.
- Once you’ve picked the ideal mounting spot, use the plaque’s pre-drilled holes as a template to mark your mount points on the wall.
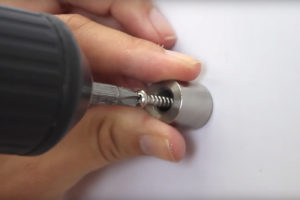
2. Mount the Stand-off Barrels
- Set the plaque aside and drill four holes into the mounting surface where you previously marked your mount points. Use a drill bit that is slightly smaller than the diameter of the mounting screw.
- If you are mounting into drywall, insert the anchor into the hole you drilled. You may tap lightly with a hammer or mallet to get the anchor flush with the wall.
- Place the screw in the barrel and screw it into the wall until the barrel is snug. Do not over tighten.
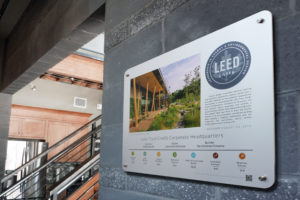
3. Attach the Plaque
- Now simply hold the plaque over the mounted barrels and hand screw the standoff caps into the barrels.
- Once the top two caps are snug, you can screw in and tighten all four standoffs.
LEED® and its related logo are trademarks owned by the U.S. Green Building Council® and are used with permission.